When it’s time for a new floor, many homeowners choose tile. It can be a great option because it is durable and easy to clean. However, it can be a daunting task if you need to remove tile flooring. In this guide, we will walk you through the process of how to remove floor tile safely and efficiently. We’ll also provide tips on how to prepare for the job ahead of time. So whether you’re updating your old floor or installing tile for the first time, read on for helpful advice!
Types of floor tile
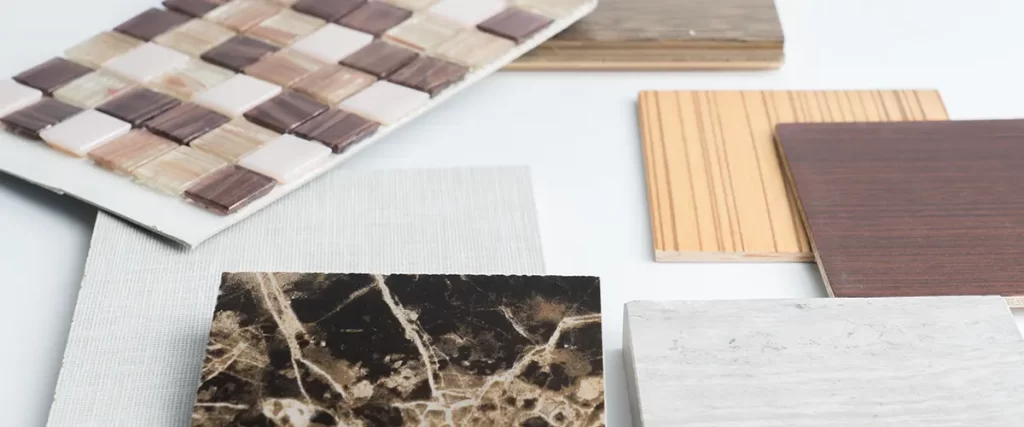
There are many different types of tile floors to choose from. You can find tile in a variety of colors, materials, and sizes. When choosing floor tile, it’s important to consider your needs and preferences. Some of the most popular types of floor tile include:
Ceramic floor tile: Ceramic tile is one of the most common types of floor tile. They are made from natural clay and are fired in a kiln. Ceramic tiles are available in a wide range of colors, sizes, and shapes.
Porcelain tile: Porcelain tiles are similar to ceramic tiles but are made from a denser type of clay. Porcelain tiles are more durable and less likely to crack than ceramic tiles.
Glass tile: Glass tiles are made from, you guessed it, glass! They are available in a wide range of colors and sizes. Glass tiles can be used to create unique designs and patterns.
Natural stone tile: Natural stone tiles are made from materials like granite, marble, and slate. They are available in a variety of colors and sizes. Natural stone tiles are more expensive than other types of tile but they are also more durable.
Preparing for tile removal
Before you begin the old tile floor removal process, there are a few things you need to do to prepare. First, clear the area of all furniture and rugs. This will give you plenty of space to work and will protect your belongings from damage.
Next, take some time to inspect the condition of your floor. If you have any cracked or damaged tiles, you’ll need to replace them before proceeding. It’s also a good idea to repair any cracks or holes in the subfloor. This will help ensure that your new tile is level and even.
Finally, make sure you have all of the supplies and tools you need before getting started. This includes things like a masonry chisel, hammer, a floor scraper, electric tile stripper, safety goggles, work gloves, and a dust mask.
With these tips in mind, you’re ready to start the tile removal process!
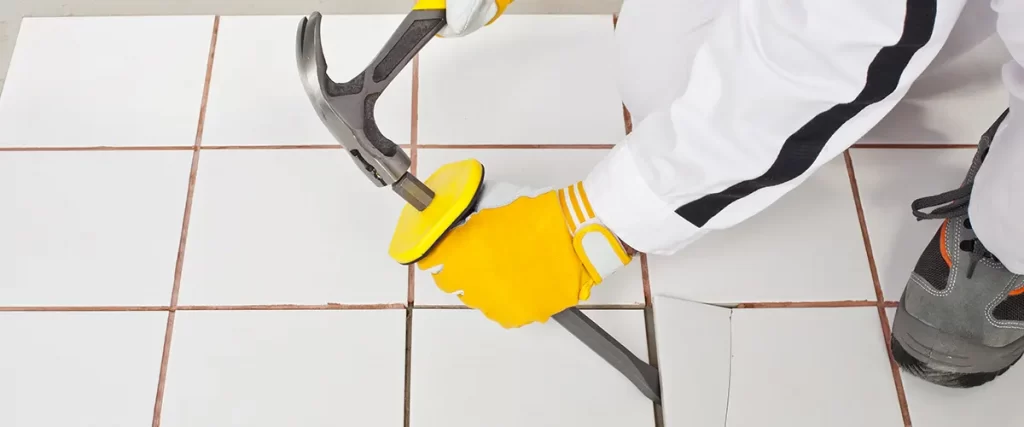
How to remove floor tile using a chisel and hammer
Removing tile flooring can be a difficult task, but it’s not impossible. In this section, we will walk you through the process of how to remove floor tile using a chisel and hammer.
- Put on your safety goggles and work gloves.
- Place the chisel against the tile and strike it with the hammer to break the tile.
- Repeat this process until all of the tiles are removed.
- Use a vacuum cleaner to remove any dust and debris.
- Wash the area with soap and water to remove any residue.
How to remove floor tile using a power tool
If you’re not comfortable using a chisel and hammer, you can also rent a power tool called a tile stripper. This tool makes it easy to remove floor tile without damaging the underlying subfloor.
If you decide to use a tile stripper, follow these steps:
- Put on your safety goggles and work gloves.
- Place the tile stripper against the tile and turn it on.
- The tool will strip away the top layer of the tile, revealing the adhesive beneath.
- Continue moving the tool across the floor until all of the tiles are removed.
- Use a vacuum cleaner to remove any dust and debris.
- Wash the area with soap and water to remove any residue.
With either method, it’s important to take safety precautions and work slowly and carefully to avoid damaging the subfloor.
How to patch the floor after removing the tile
After you finish removing all your floor tiles, you just need to patch the floor. This is how:
1. Inspect the floor for damage and repair any cracks or holes in the subfloor.
2. Apply a layer of adhesive to the floor.
3. Place the new tiles on top of the adhesive and press down firmly.
4. Let the tiles dry for 24 hours.
5. Seal the tiles with a tile sealant.
What to do with the old tiles once they’re removed
Once you’ve removed the old tiles, you’ll need to dispose of them properly. If they are still in good condition, you may be able to donate them to a local charity or recycling center. However, if they are damaged or cracked, you will need to dispose of them in a landfill or hazardous waste facility.
Tips for removing floor tile without damaging the surrounding area
When removing broken tile, it’s important to take precautions to avoid damaging the surrounding area. Here are a few tips for avoiding damage:
- Work slowly and carefully to avoid slip-ups
- Use a chisel and hammer to break the tiles instead of trying to pry them up with a crowbar
- If possible, remove the tiles in small sections to avoid putting too much stress on the surrounding area
- Be sure to vacuum up any dust and debris after removing the tiles
With these tips in mind, you should be able to remove your floor tiles without damaging the surrounding area.
Conclusion
Floor tiles can be a beautiful addition to any home, but they can also be a pain to remove when you want to update your flooring. If you’re tackling this job on your own, make sure you follow our tips for how to remove floor tile without damaging the surrounding area. And if you’re not comfortable with the idea of doing it yourself, get in touch – we’d be happy to help!