If you’re thinking about re-applying caulk in your bathroom, there are a few aspects worth considering.
Removing caulking is not complicated but tedious and time-consuming.
With the right tools and a smart plan, you can decrease the hassle of having old caulk removed and even apply new caulk yourself.
In this guide, we’ll talk about caulking removal from a surface. You’ll discover what tools you need and how to remove caulk as professionals do!
Let’s begin.

When To Remove Caulk
Caulks are crucial when trying to keep water away from your home. But with time, it stops being efficient, and you’re forced to replace it to avoid other costly repairs.
Many homeowners forget about caulking or decide that replacing it is optional. Old caulk loses its strength, and water makes its way through it, resulting in mold, mildew, and an unpleasant look.
You’ll need to remove and replace your old caulk when:
- It starts peeling off
- It appears black or green
- It starts absorbing water
Caulking Removal Tools
As with every project, you’ll need some tools to ensure the process is smooth and you don’t spend more time on it than required. Here are the essential tools that will help you in this endeavor.
- Plastic putty knife
- Utility knife
- Caulk remover tool
- Isopropyl rubbing alcohol
- Bleach
- Small bucket
- Sponge
- Gloves

Old Caulking Removal In 5 Simple Steps
Let’s see some simple ways to remove old caulking by yourself.
1. Remove Loose Caulk With A Putty Knife
Start by removing the loose caulk first, as this will make the next steps easier. Everything that you can peel off with your fingers is considered loose caulk.
Start from one of the surfaces and make your way to the other. If no end of the caulk bead is loose, use a razor blade to make your job easier.
2. Score The Caulk
This step requires attention and care. Use a sharp plastic tool or a caulk remover to score the edge of the remaining caulk from your surface.
If you’re removing caulking from your bathtub, use the caulk remover to unglue the old caulk from the tiling. Do it slowly and with precision – you don’t want to damage any tile.
3. Soften Old Caulk With Caulk Remover
For a clean removal, professionals use a chemical caulk remover. If you don’t have any caulk removal substance, you can skip this step.
Caulk removal substances cling to your old caulk and remain wet for a long time. It soaks the old caulk, easing the removal process of all types of caulks, including silicone caulk, polyurethane, and acrylic latex.
A common caulking removal substance is the Krud Kutter, and you can find it in most home improvements stores.
Apply it, let the caulk remover sit for 15-20 minutes, and remove old caulk.
4. Scrape The Soften Caulk
Start from one end and scrape the soft caulk off. If it’s still tough, re-apply the chemical remover and give it another 20 minutes. Use the caulk remover or another removal tool to remove what’s left of the caulk.
If your existing caulk exists in multiple layers, you’ll need to repeat this step at least two times.
5. Remove Residue
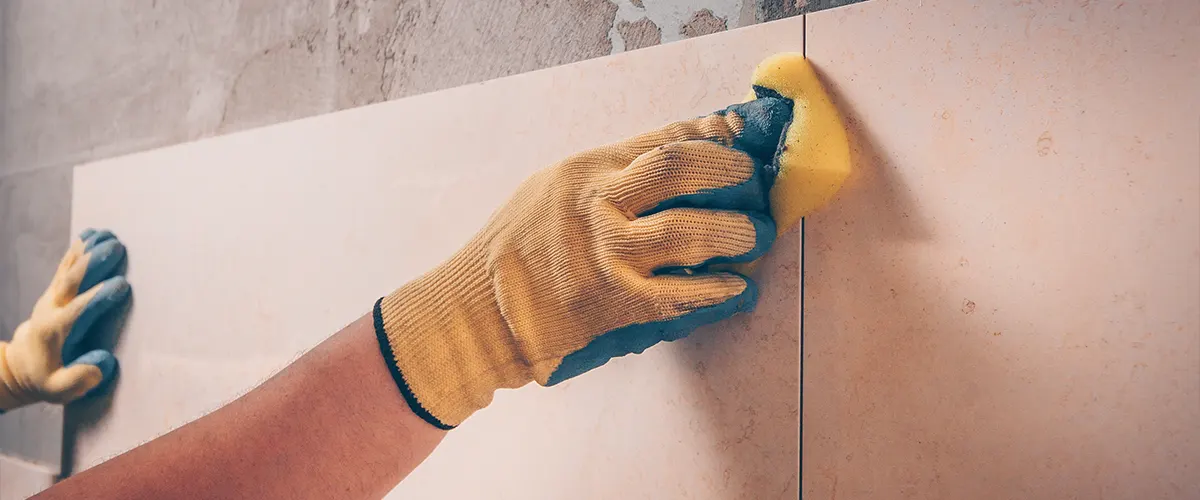
Even after scraping it, you’ll most likely see caulk residue on your tiles. Use a non-scratch sponge or pad to clean everything left on your tiles without damaging them. After you remove everything, clean the surface with isopropyl rubbing alcohol.
Ensure the gap between the two surfaces is clean and there’s no mold or mildew. If it is, wash the area with a bleach and water solution (1/10 bleach, and the rest water). This mixture will kill mold and bacteria. Rinse any soap scum and let the tiles dry before re caulking.
Conclusion
Removing caulk is time-consuming and tedious. You’ll need at least two hours to do it properly and ensure no caulk remains before applying the new one.
It’s important to remember that caulk doesn’t stick to caulk. If you don’t remove it entirely, the new caulk you want to apply might not save your bathroom from mold and mildew.
Call us today and let professionals handle every aspect of your bathroom!

